 |
How To MakeA Chartres Finger Labyrinth |
 |
Everyone is curious... about how I make my Chartres Finger Labyrinth. Here's a nice little photo essay on how it's done. The long and winding process from design to finished artwork... |
||
| Here is the original design on paper. It's a mirror image so that when transferred to the plaster, it will face in the correct direction. | 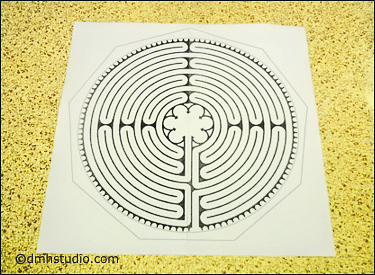 |
|
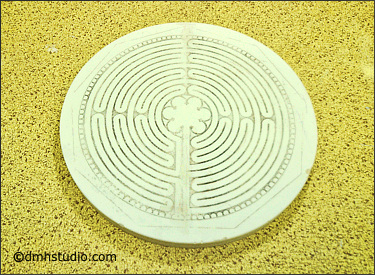 |
The design has been transferred to the plaster blank for carving. | |
| The plaster model being carved using wood carving tools. The clay tools help in smoothing the carved lines. |  |
|
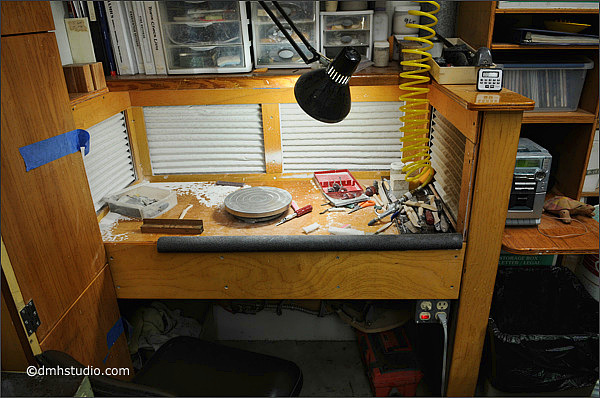 |
This is my vacuum table. I use it for jobs that create unhealthy dust- like carving, sanding, or mixing glazes. | |
| After days of work, the plaster carving is complete. Now I am preparing to cast the urethane master. | 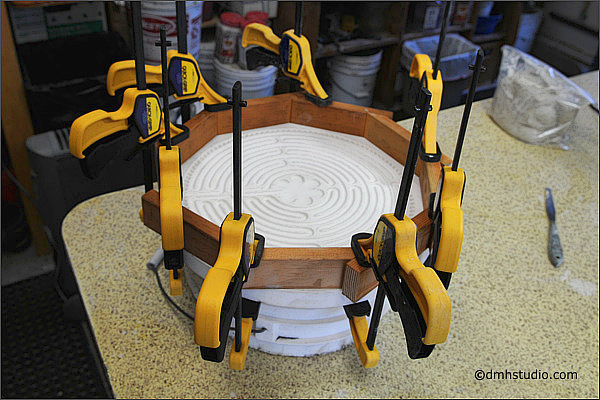 |
|
 |
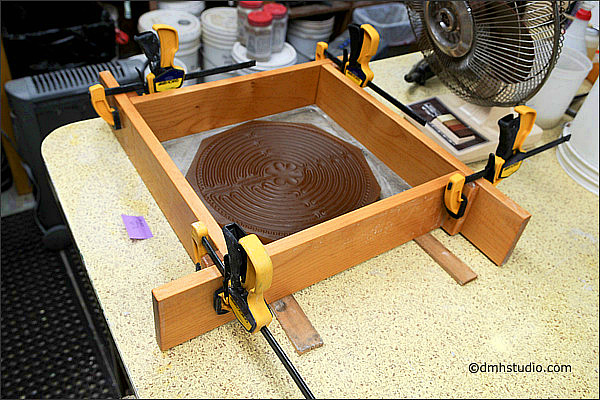
The first urethane casting has been poured. The original carving is a "positive". |
|
| Here's the first urethane negative casting with it's cool arty wooden form or "cottle". | 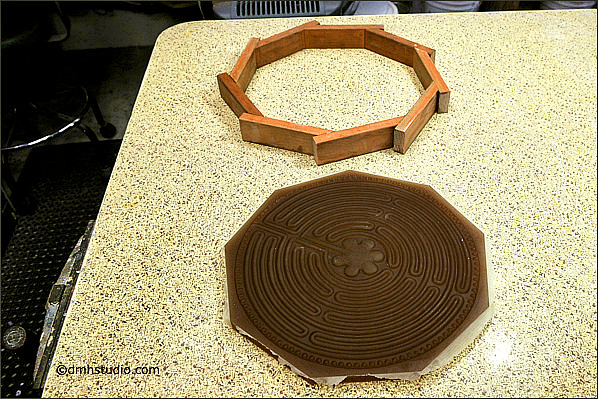 |
|
 |
Now we are almost ready to pour the second urethane casting, the master. | |
| The second pour is complete. | 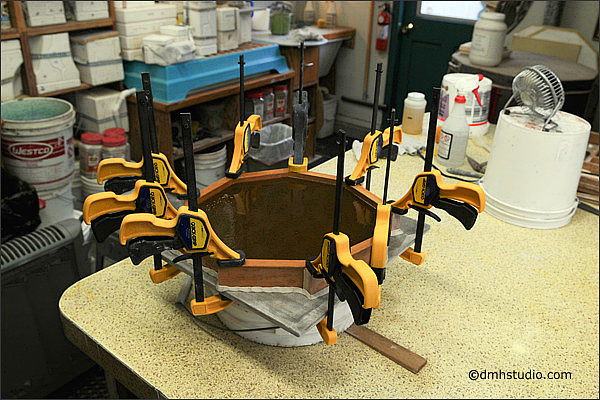 |
|
 |
This shows the relationship between the two castings and the form. | |
 |
The Master is almost ready for pouring the first half of the plaster mold. The plaster is a special type made for casting, called #1 pottery plaster. |
|
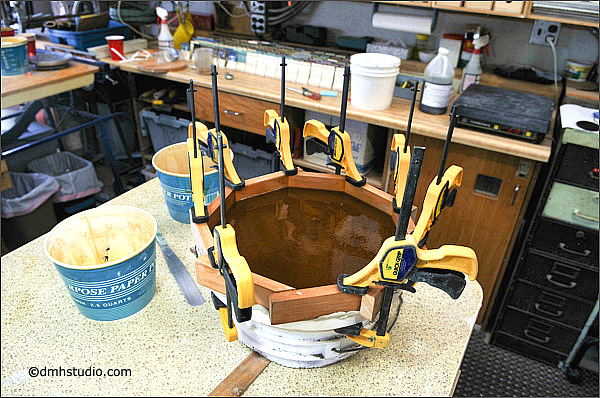
| The first plaster mold is complete! With luck it will make between 50 and 75 castings before it's worn out. | 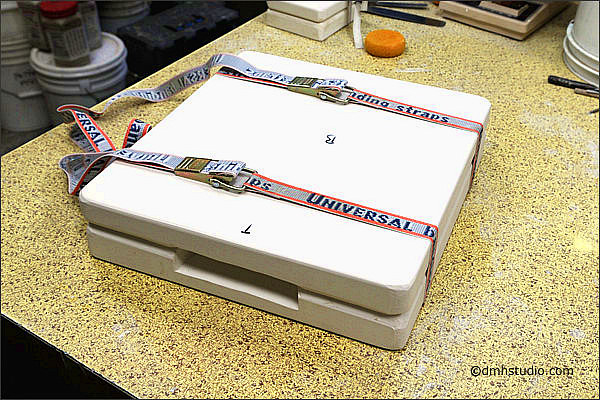 |
|
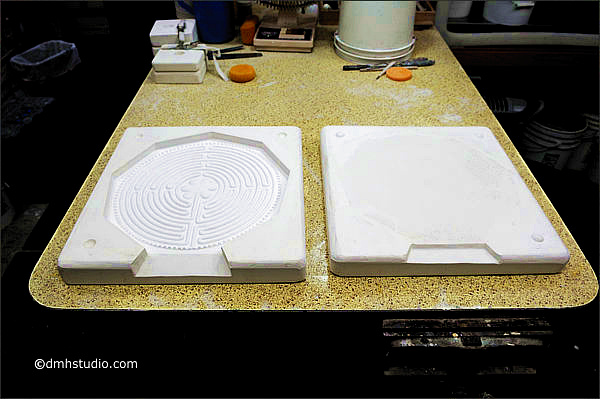 |
The two halves of the mold. | |
| The mold is filled with a special liquid clay called slip to make the casting. | 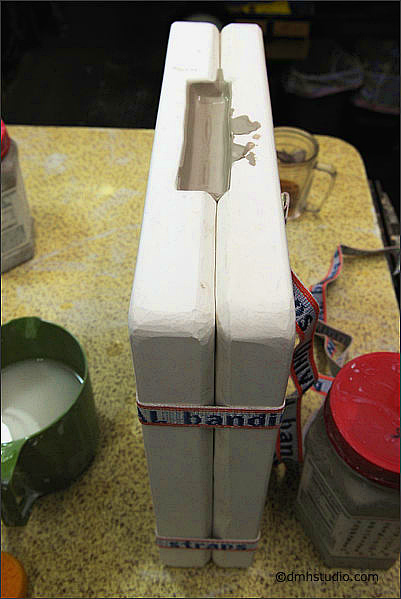 |
|
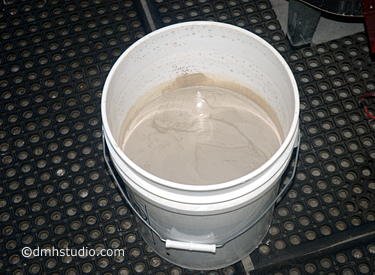 |
Stoneware casting slip. It looks just like mud, but actually it's very specially formulated. If everything isn't perfect, it doesn't work, and you've got a mess! I use two clays. One is gray when wet, and fires pure white. The second is reddish when wet, and fires to a light brown buff color. |
|
| After about four hours, the casting is ready to remove from the mold. The back has been smoothed and sponged off, and it has been marked in the clay dmhstudio.com. | 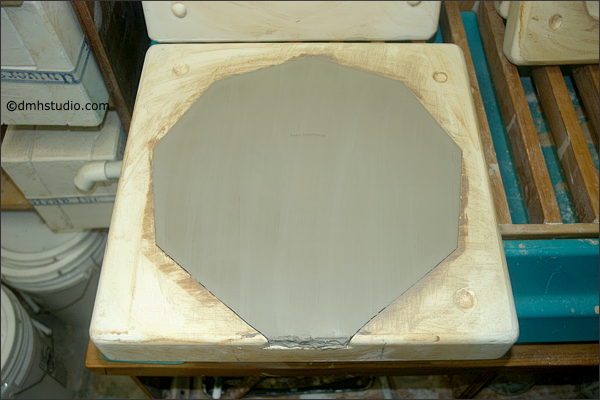 |
|
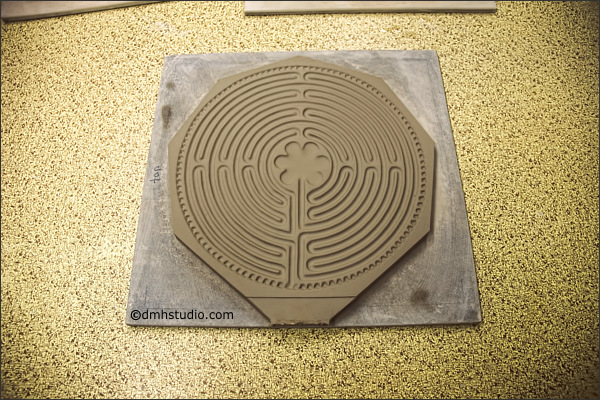 |
The casting has been removed from the mold. The bottom will be trimmed off, and the piece will be allowed to dry for a day. Then the edges will be trimmed, the pathway cleaned, and any imperfections in the casting will be remedied. The back is also now marked with a unique studio serial number. |
|
| Cleaning the casting. | 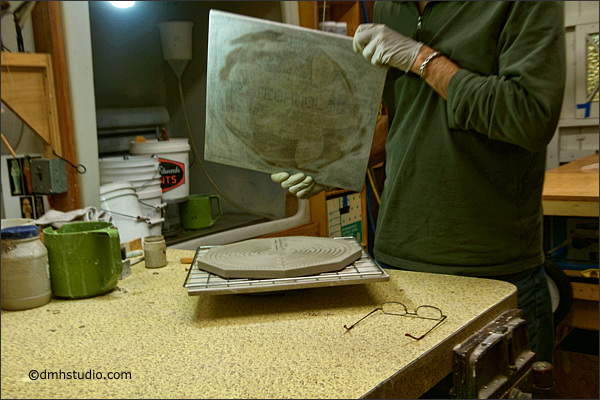 |
|
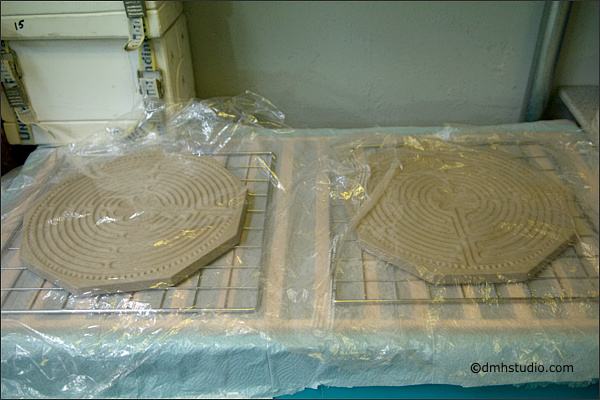 |
The pieces are dried very slowly and carefully to keep them from warping. | |
| Depending on the weather, it can take from 7 to 14 days for a casting to dry. This stage is called "bone dry" greenware. This means that all possible non-chemically bound water has evaporated. The piece is very fragile at this stage. The remaining chemically bound water is driven off in the early stages of the bisque firing. |
 |
|
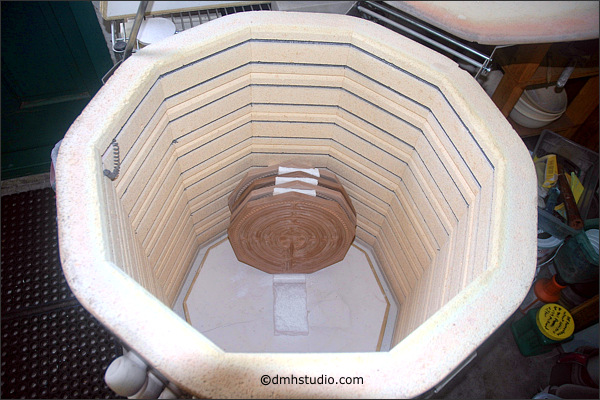 |
Bone dry greenware being loaded in the kiln for the first "bisque" firing. The bisque firing begins the ceramic conversion. It removes all remaining chemically bound water, and burns off all organic compounds that got in with the clay. Because my clay is very fine grained or "tight bodied", I use a very long slow bisque firing to about 1950 degrees F. This firing lasts for about 20 hours. |
|
| Removing the bisqueware from the kiln after the firing. |
 |
|
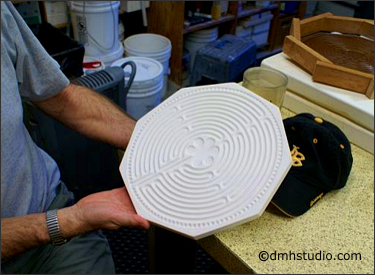 |
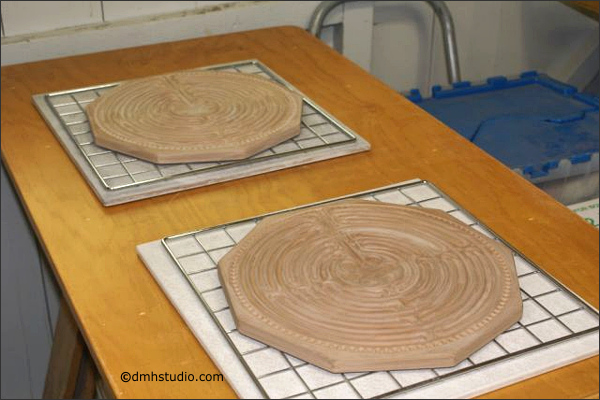
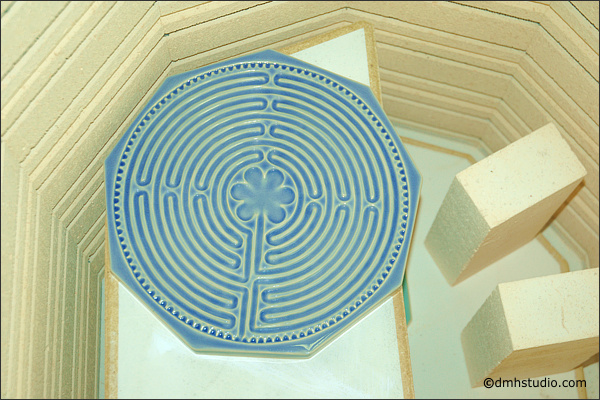
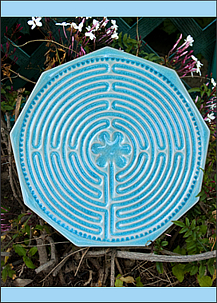
A bisque fired labyrinth. At this point the piece is half way through the ceramic conversion. It is still relatively soft and porous, which makes it perfect for accepting the glaze spray. |
|
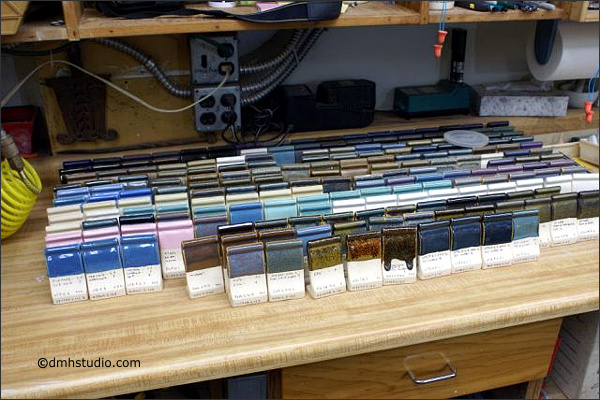 |
Developing glazes is an ongoing process. An obsession, an addiction... |
|
Sometimes |
 |
|
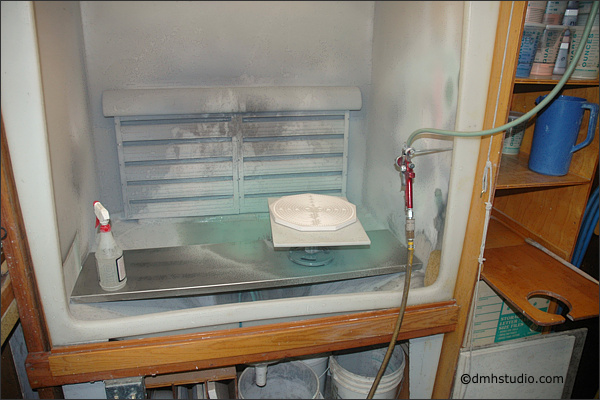 |
Spraying glaze. | |
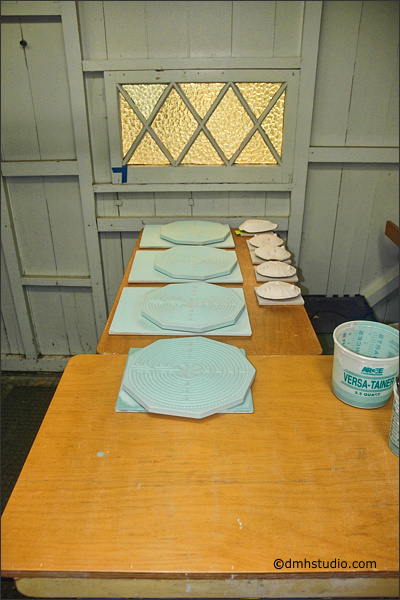 |
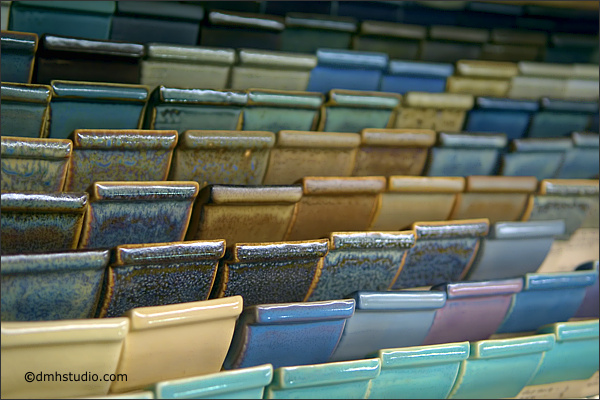
Here are some just glazed pieces. The color of the glaze spray doesn't necessarily have anything to do with the final color of the glaze when fired. | |
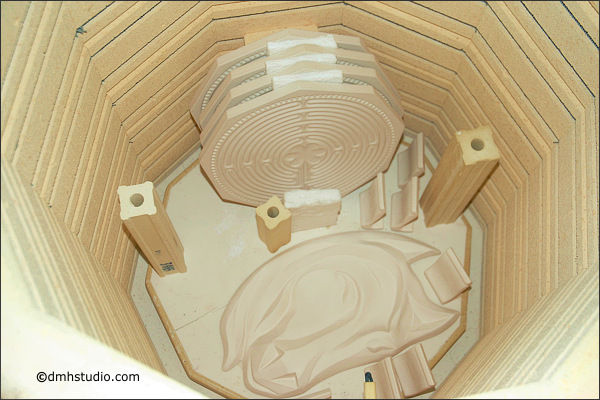
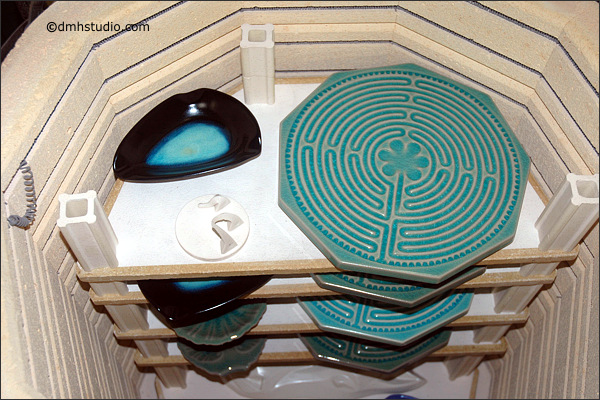
| Loading the glaze firing. | 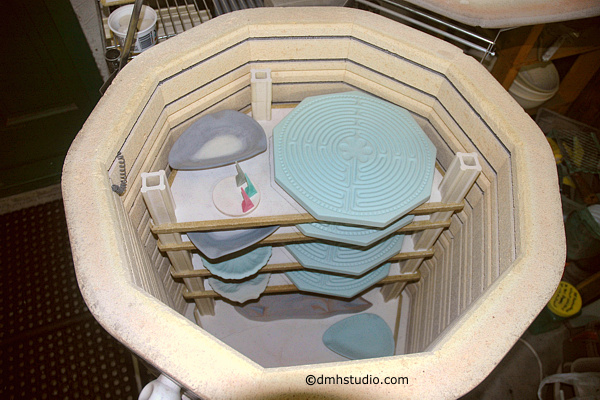 |
|
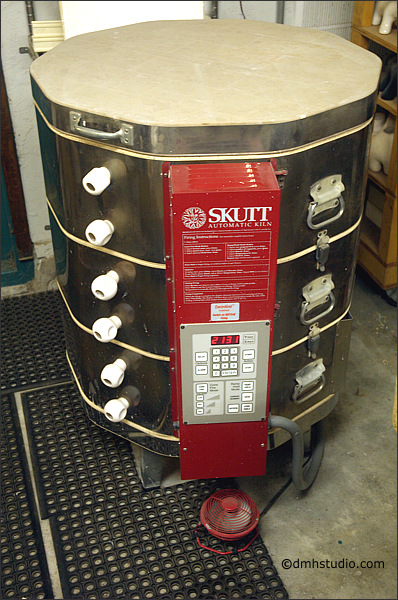 |
My digitally controlled electric kiln almost finished with a glaze firing. The digital controls allow me to program a complex 5 stage glaze firing process, including controlled "downfiring" after reaching peak temperature of about 2144 F. |
|
 |
Here's a cool available light shot of the temp display near peak. Kind of eerie being in the blazing hot, pitch black studio, late at night, with only the illumination of the red lights shining... |
|
Opening the glaze firing! I've fired my kiln almost 500 times, and I still always eagerly look forward to opening the glaze firing, to see what the kiln has given me this time... |
 |
|
 |
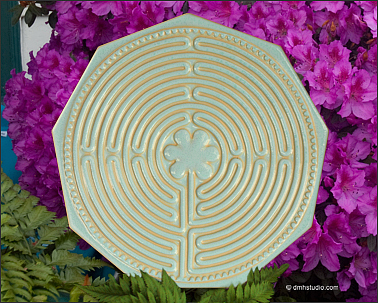
Sometimes you just get lucky, and everything comes perfectly together... |
|
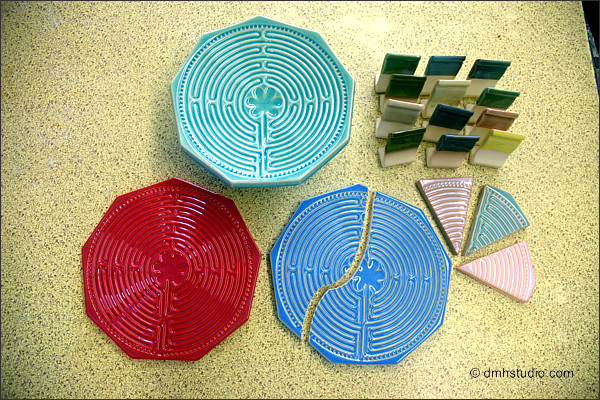
| After the glaze firing, the piece has completed the ceramic conversion. It is very hard and dense ("stoneware") and has shrunk about 13% from the size it was when it was originally made. If tapped, it rings like a bell! With luck and some care, it should last for 10,000 years... |
||
 |
 |
 |
| PostScript: ...and sometimes you don't get so lucky... This is what we call a classic "S" crack. It was probably caused by experimenting around with the drying process, trying to speed things up. A wise man once said, "Accept what the kiln gives you." The kiln never lies. It's supremely technical. If you make a mistake, it always tells you about it. It has been a long and sometimes difficult process to learn how to make these labyrinths. But I'm sure you'll agree, that the beauty has been worth the pain... |
 |
|